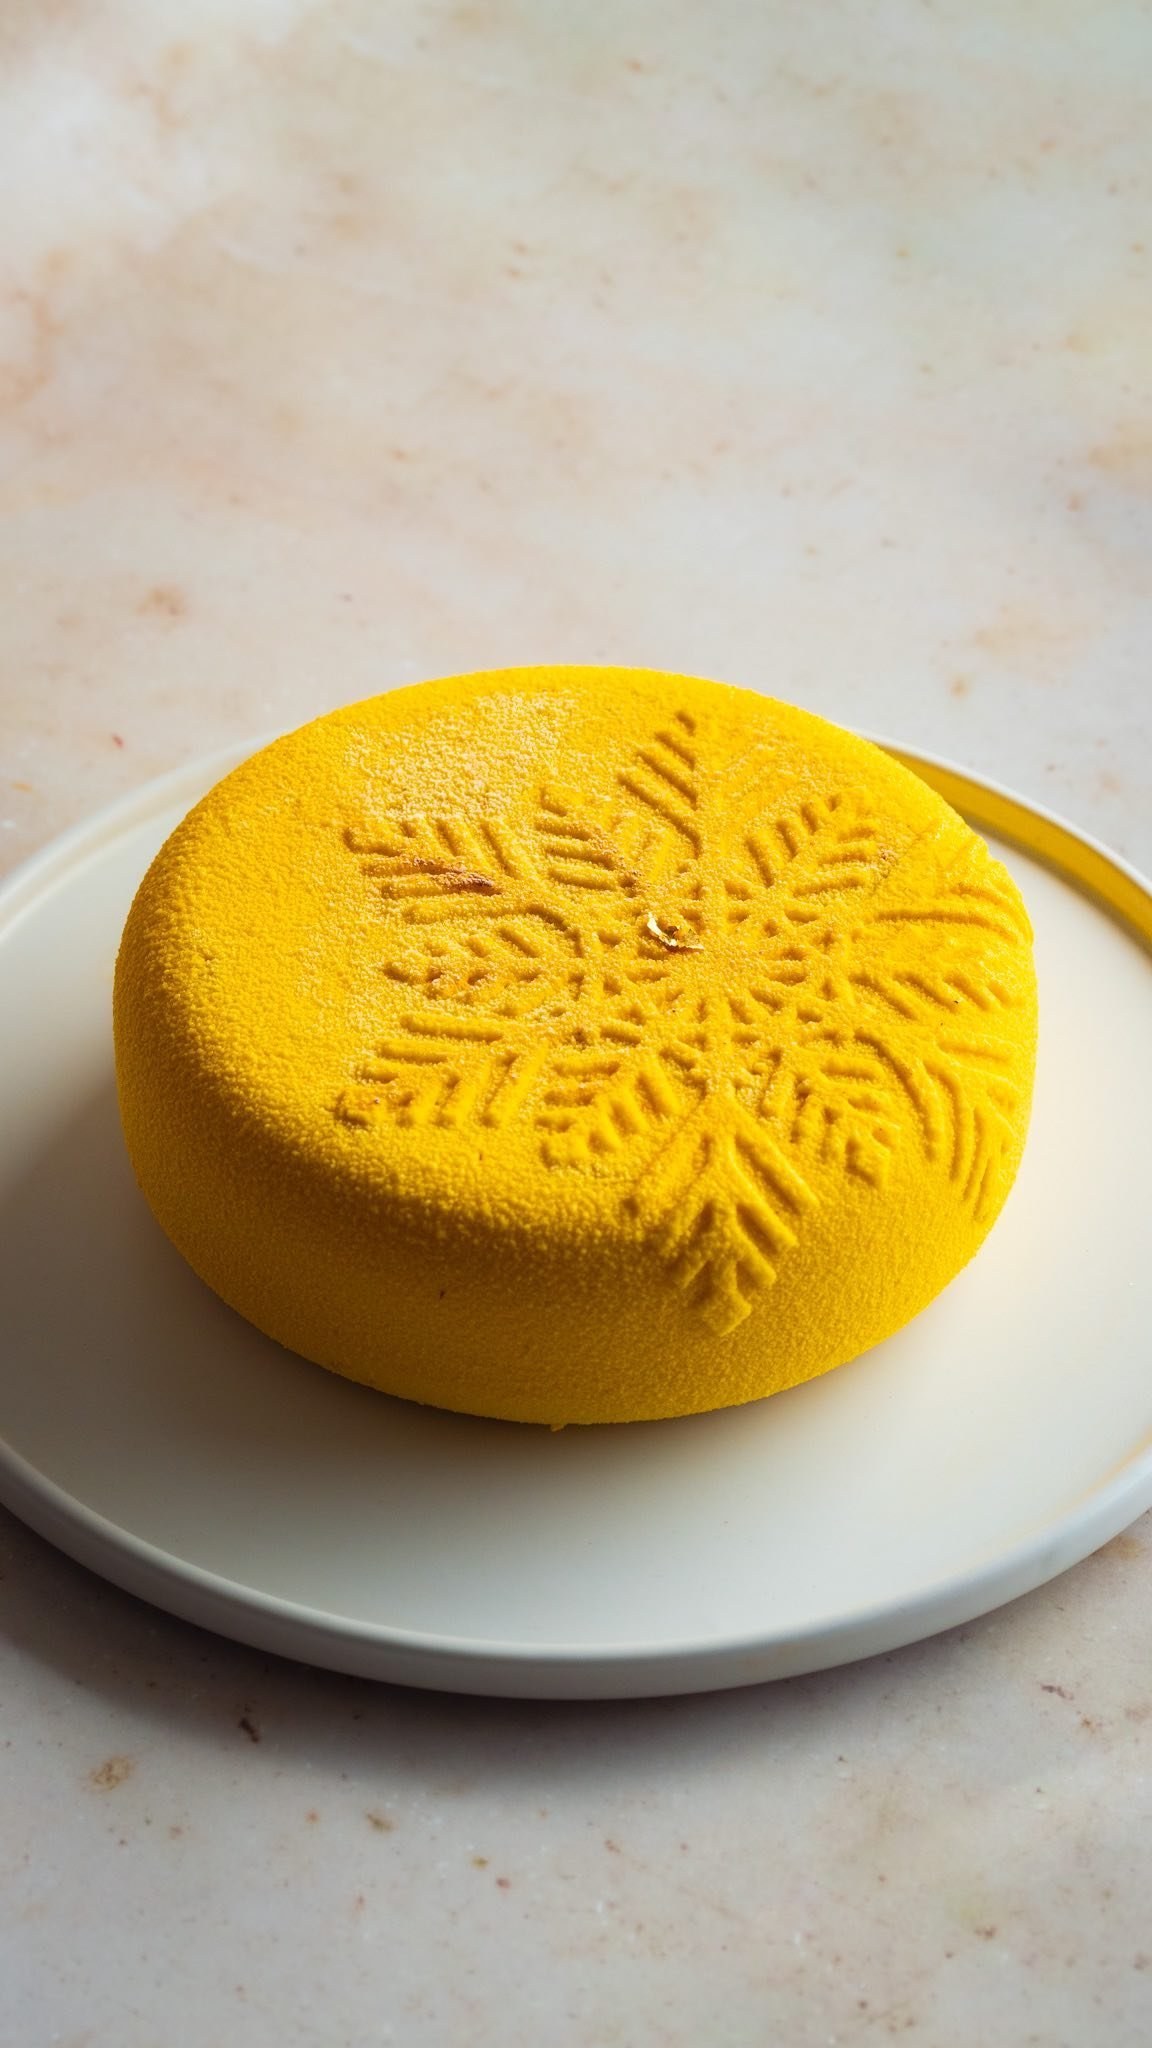
Black Sesame Basque Cheesecake
What happens when San Sebastian meets Japan? Black Sesame Basque Cheesecake is what happens. The iconic Basque cheesecake gets a Japanese makeover with the addition of some toasted black sesame paste (known as kuro neri goma in Japanese). What you’re left with is a creamy, indulgent, nutty, earthy cheesecake that blends the best of both worlds.


While this cheesecake is incredibly forgiving, here are some tips to help you get the best of this recipe:
Make sure your ingredients are at room temperature. There are lots of fats and water going in this recipe in the form of cream cheese, eggs and cream. To ensure they all combine and mix well with one another (aka emulsion), they need to be at the right temperature (27-30°C).
Beat your cream cheese until smooth first. This not only allows for minimal lumps, but also helps to make the final product a little lighter in texture by incorporating air into the cheesecake.
In saying that, do not over beat your cheesecake batter once you’ve added the eggs to prevent cracking. We simply want the ingredients to combine well- not aerate.
Some cracks are normal and can happen due to the high temperature we bake this cheesecake at. The surface area of your baking tin also plays a factor in cracks- narrower the tin, lesser the surface area hence more tendency to crack.
The final texture of the cheesecake depends on how long you bake it for. The longer you bake- the more set/firm it will be. I’ve included notes for varying textures in the notes below.
If black sesame isn’t your thing, feel free to change up the flavour. You can keep it classic or add a nut paste instead for a different flavour option.
Recipe
Serves: 4-6
Ingredients
500g full fat cream cheese, at room temperature
150g caster sugar
10g plain flour
1g sea salt
175g eggs, at room temperature *
120g heavy cream, leave out of the fridge for 15 minutes before use
60g black sesame paste**
Method
Prepare your tin: Grease and line a 6 inch springform tin with two layers of parchment paper. Use some aluminium foil and wrap it around the outside of the cake tin like a band. Keep aside.
Preheat oven to 210°C (fan-forced) or 215°C (deck oven). If your oven runs hotter, like mine, reduce it to 205°C (fan-forced).
In the bowl of a stand mixer, fitted with a paddle attachment, add the cream cheese and beat on medium speed for 3-4 minutes or until smooth and has no lumps. Scrape down the sides of the bowl, if necessary.
Add the caster sugar and beat on medium low speed for another 2 minutes or until smooth.
Sift the flour and salt into the cream cheese mixture and mix until just combined. Keep scraping down the sides of the bowl, as necessary.
With the mixer running on a medium low speed, stream in the eggs in a consistent flow and mix until combined well.
Finally, add in the heavy cream and black sesame paste and mix until combined. To finish the batter, use a hand whisk to get rid of any lumps there may be.
Tap the bowl on the countertop a few times to get rid of air bubbles. Pour the batter into the prepared cake tin.
Place the cake on a higher wire rack (closer to the heating rod) and bake for 30-40 minutes or until most of the cheesecake is still very wobbly but the sides are set. The top should be a dark golden brown in colour. Mine took 33 minutes since my oven runs a bit hotter. Rotate the tray halfway after the 30 minutes mark for even colouring. ***
Cool the cheesecake on the countertop for 30-40 minutes before placing it in the refrigerator (uncovered) for 16-42 hours. It really benefits from chilling so make sure to chill for at least 16 hours.
The next day, remove the cheesecake from the tin. Use a hot knife to cut the cooled cheesecake into even slices. For the best texture, let the cheesecake come to room temperature before serving.
Pro tip: Serve with a little raspberry/ blackberry coulis for a more flavourful experience.
Notes:
*- Crack and whisk your eggs first and then weigh the required amount.
**- If you want to make a regular Basque cheesecake, skip the sesame paste altogether.
***- For a runnier centre, bake for 30 minutes. For a creamy centre, bake for 35-40 minutes.
If you’re struggling to get a darker colour on the crust, use the broiler to colour the crust. Make sure to keep an eye as it can burn in only few seconds.
If you enjoyed that and tried it at home, please tag me at @myyummyspatula on Instagram so that I can see all your bakes! For more BTS stories, updates and fun, you can follow along here: